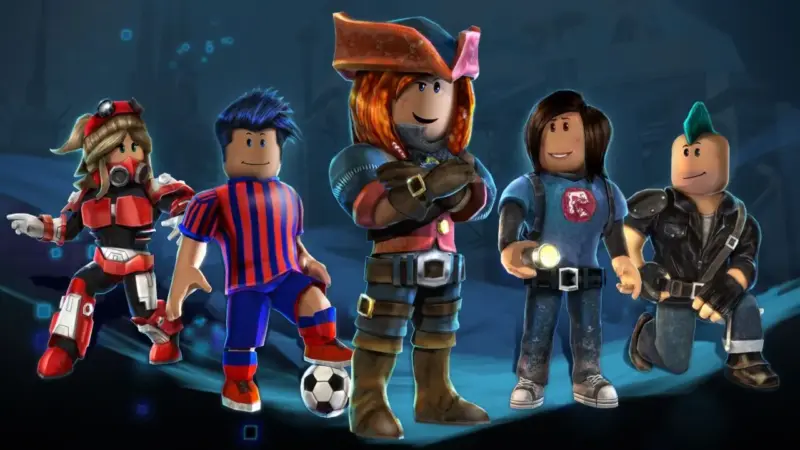
Roblox is not just about playing games, the platform also allows players to express themselves through unique avatars. One of the joys of playing Roblox is the freedom to change your character’s appearance, add accessories, and create a style that reflects your own personality. If you’re new to the world of Roblox or don’t know how to change your avatar on Roblox and add accessories, this article will guide you step-by-step.
Why are Avatars Important in Roblox?

Avatars in Roblox serve as a visual representation of you in the game. Every player has a default avatar when they first create an account, but you can freely change it. With millions of items available in the Avatar Shop, you can stand out from the crowd. Some players even create customized avatars for specific games or follow trending themes.
How to Change Avatar on Roblox
Here are the steps to change the look of your avatar:
- Login to your Roblox account
Log in to roblox.com via browser, or open the Roblox app on mobile. - Log in to the Avatar page
After logging in, click the menu/avatar icon on the left (desktop) or tap the character icon (mobile). This will take you to the avatar editor page. - Select the item you want to change
On this page, you will see various body parts and clothing items that you can change, such as: Head, Hair, Face, Shirts, Pants, Accessories (Top Hat, Glasses, etc.), Animation. Click on the item you want to wear, and your avatar will be updated automatically. If you want to remove a specific item, simply click on it again until it is no longer active. - Use presets or saved avatars
If you’ve already saved a certain look, you can choose it from a list of pre-made avatar presets. - Check out the new look
You can preview your avatar from different angles. When you’re satisfied, just close the page and your avatar will be automatically used in all games.
How to Add Accessories to Avatars
Apart from changing the basic look, you can also add various accessories to enhance your avatar:
- Go to Avatar Shop
Click on the Avatar Shop menu at the top of the Roblox page. - Choose an accessory category
You can choose by category, such as:- Top Accessories (hat, crown, etc.)
- Face Accessories (glasses, masks)
- Neck, Shoulder, Front, Back Accessories
- Gear (interactive item)
- Use the search filters
If you want to search for free items, click the “Price: Free” filter. You can also organize by popularity, newest, or cheapest price. - Click on the item you want
Go to the item page, then click the Get or Buy button if the item is paid (using Robux). - Wear the accessory
Once you have successfully obtained the accessory, it will appear in the avatar tab. Click to wear it.
⚠️ Notes: Roblox has a limit on the number of accessories that can be worn at once on one body part (e.g. maximum 3 Top Accessories). Make sure you organize your combinations carefully.
Tips for Creating a Unique Avatar
- Mix and match: Combine items from different categories to make a statement.
- Check out other people’s avatars: Be inspired by other users in games or social media.
- Use outfits from creator groups: Many Roblox outfit designer groups share cool work.
- Save multiple views: Switch it up according to your mood or the type of game you’re playing.
Conclusion
Changing your avatar and adding accessories in Roblox is very easy, even for beginners. With hundreds of thousands of items to choose from, you can create a truly unique digital character that reflects who you are in the Roblox world. So, feel free to experiment, find the style that suits you best, and stand out in every game you play.


